Do you have a calendar that is just too pretty to throw away? This is the perfect DIY to repurpose it and to create something beautiful in the process!
Let me share how I repurposed pages from a calendar to create some special mementos!
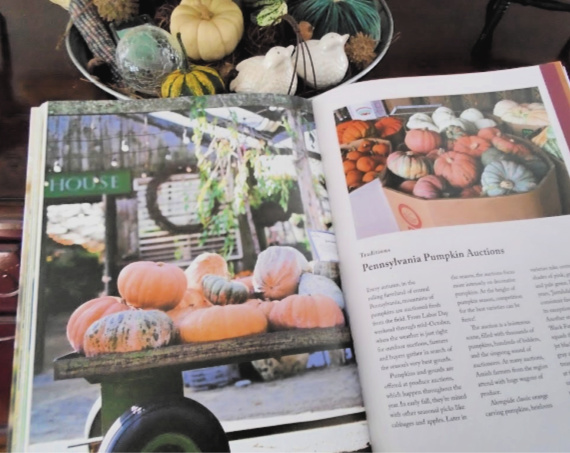
The calendar I am using in this example is my Anna Rifle calendar. This beautiful calendar was actually one of my previous giveaways – if you were the one to win it, you already have the start to create some wonderful gifts!

All you need to do is to use the page of the month from the date you have chosen, circle the date, and frame to your liking! So pretty and so easy!
My calendar choice has metallic gold accents, so I circled my chosen date with a gold metallic marker. Use any permanent marker that coordinates with the page you have chosen. Gold leaf, calligraphy ink, or watercolor paint can also be used, based on your taste and the style of the calendar you are using.

Here, rather than using a frame, I have clipped the calendar page to a clipboard I covered with a metallic dot wrapping paper.

What special date do you want to remember? A baby’s birth date, a special anniversary, the arrival of a new pet – many possibilities – any date you may want to commemorate is fair game!
If you plan on framing the page, remember to think about the frame size when you purchase the calendar since the cost of your project will be much less if the calendar fits a stock mat/frame. Of course, you have the option to have the piece professionally framed, if you prefer. You may also come up with other ideas –using a clipboard as a frame or slipping the page under a piece of glass on a serving tray.

Think about gifts for showers, anniversaries, or wedding dates – if you don’t have a calendar to reuse, buy a beautiful calendar after the year begins, when they are drastically marked down in price!
I hope I have inspired you to create a special gift for yourself or for someone special!
Thanks for stopping by and remember to take pleasure in simple things, Jackie